How to use OneNote
You often have to take notes on information, ideas or appointments but, not having a pen and paper, you are looking for a solution to use on the devices you use every day. But you are not looking for a simple app or software to create notes, but you need a solution that can make your notes available on any platform you use. Do not worry, I think I have the answer to your needs: OneNote.
OneNote is a free software developed by Microsoft, available both on computers and on mobile devices, thanks to which you can take notes by creating notes available at any time on all devices connected to your Microsoft account. How do you say? Is that what you were looking for? Very well! Because in this article I will explain how to use OneNote step by step using all the devices on which the application is available.
Courage: Sit comfortably and take a few minutes to read the advice I have prepared for you in this guide. I am sure that, at the end of the reading, you will have an adequate knowledge of OneNote, so as to be able to take notes and have your notes available always with you. Are you ready? I just have to wish you a good read and, above all, a good job!
Use OneNote on your computer
OneNote can be used on computers either through the Web panel, accessible from the browser, or through the app for Windows and macOS.
To use the Web version of OneNote, go to Microsoft OneNote and press the Login button, then type the login credentials of your Microsoft account. If you do not have one then sign up.
To download OneNote on Windows 10, download from Microsoft store, in order to open the page of the app on the Microsoft Store. Then click on the Get button and wait for the OneNote automatic download and installation.
If you are using an older version of Windows, such as Windows 7, to download OneNote, you must link to this web page and click on the windows desktop button. When the download is complete open, by double clicking on it, the file you just downloaded and, in the window that appears on the screen, click on the Yes button. Therefore, wait for the download and installation of all the files necessary for the operation of OneNote and click on the Close button to complete the setup.
On macOS, however, access the OneNote page on the Mac App Store, press the Get button and then the Install button to download and install the app. You may be asked to enter your Apple ID password to complete the operation.
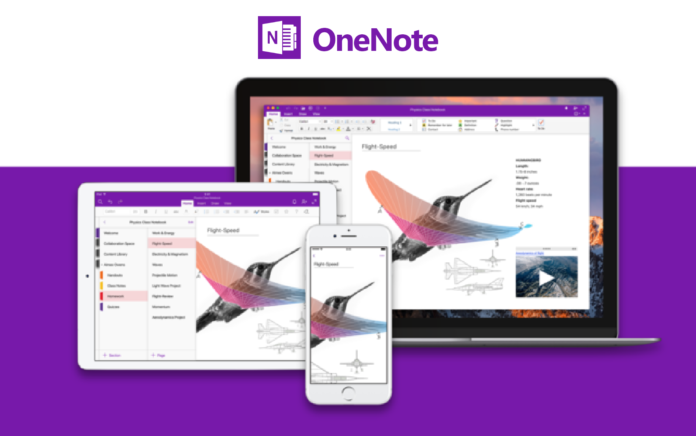
You can freely choose the platform on which to use OneNote, because its interface is almost identical on Windows, MacOS and from Web. The different versions differ only some features, which I will discuss in detail in the next paragraphs.
As I have already indicated, through the Web panel you are asked for the login credentials of the Microsoft account to access OneNote. The same thing happens, however, even using the desktop application: on Windows, after starting the app, press the Microsoft Personal Account button and select the Microsoft account that you see on the screen or, in case, add one by pressing on the word Microsoft account.
On macOS, however, when the app starts, press the Login button, follow the on-screen procedure to log in with your Microsoft account, and then click the Start Using OneNote button.
In the OneNote main screen, in the left sidebar, you can see two columns in which the notes are arranged: in the first column are the sections, which group more notes, just as if they were folders. In the second column, instead, the notes are arranged for each single section.
To add a new section, press the new section at the bottom left. To create a new note instead, press the Page button located at the bottom left. By pressing the <icon on the left (icon ☰ on the Web panel) you can access the Memo Pad column, which is an additional layer for organizing notes.
In the central section of the OneNote interface, you can read the notes and edit them using the tools you find in the top menu bar, which is divided into several tabs. The Home tab contains tools for formatting text: font size, font, bold, italic, bullets, margin returns, styles, text alignment, and tags.
This last feature, that is the marks, allows you to add markers on the text of the notes with easily recognizable labels at a glance. For example, if you have entered a phone number in a note, you can apply the Phone Number flag that will show an icon with a telephone receiver. Although this functionality is present on all platforms, on Windows 10 there are only some of the more than twenty usable markers.
Using the Insert tab, you can add items to notes, such as tables or an image or attached file. In addition, you can also record audio with the microphone and add hyperlinks to individual terms or portions of text.
Then there are other tools available that are not found on all platforms: for example, the Emoji menu is only available in the Web panel, the Symbols menu only on Windows or from Web, while the Equation panel, to write mathematical formulas, is only present on macOS or from Web.
On the Drawing tab, you can draw freehand or add predefined shapes to notes. Finally, on the View tab, there are tools to change the way the note is displayed on the screen, open the different panels on the left and change the background of the note.
On macOS, in this section, there is also a tool, called Password protection, which has the purpose of adding a password to protect the display of the note during the current session.
You do not need to save the notes, as these are automatically synchronized with Microsoft servers, so as to make them available at any time on all compatible devices on which you log in.
Also, you can share notes with other users to let them edit or just view them. To do so, click on the Share button, at the top left, and type the email address of the recipient’s Microsoft account.
Use OneNote on smartphones and tablets
You can also use OneNote on smartphones and tablets, to write notes and have notes written on other devices at hand. To download the OneNote app, go to the Android Play Store or the iOS App Store. On Android, tap the Install button and finally open. On iOS, however, presses the button Get, unlock the download and installation with the Face ID, Touch ID or password iCloud and finally do tap on the button Open.
After starting the app, on Android enter the email address related to the Microsoft account in your possession and presses the Forward button. Then enter the password associated with it to access the OneNote main screen. On iOS, however, after starting the app, press Start and log in to the Microsoft account to access the main application screen.
The OneNote app for Android and iOS differs depending on whether it is installed on a smartphone or tablet. In fact, OneNote on tablet is very similar to the desktop counterpart, so you can follow what I have already described in the previous chapter: all the tools are distributed within the Home, Insert, Drawing and View tabs, located at the top.
On smartphones, however, the features are reduced: it is only possible to format the text and add attachments, using the buttons above the virtual keyboard. In addition, on Android you can also practice freehand drawing (icon of the pen above), functionality foreclosed on iPhone.
If you want to create a new note, on the main screen of OneNote, first tap on the item Memo Pad or access one of the blocks already created.
Next, create a new section or tap an existing one. Finally, press the Page button to create the new note or tap on an available screen to edit it. The changes are saved automatically.
You may also like this post What Can You Do When Your Computer Freezes


Average Rating