How to create a poster with Microsoft Word
Read Time:7 Minute, 3 Second
A friend of yours has asked you to give him a hand in creating a poster with Microsoft Word because he wants to advertise an activity or an event. As usual, you could not say no and now you find yourself having to complete a job that you do not feel able to perform flawlessly. In fact you have opened Microsoft Word, the famous Microsoft software, but you realized you did not know the right options to use.
Do not worry: if you want I can explain how to create a poster with Microsoft Word. I guarantee you that it is not at all complicated as it seems! In fact, all you have to do is choose the size of the page you want to use for the poster, insert the texts and images that you want to highlight and you’re done. And if you’re wondering, you can get the job done using both the desktop version of Microsoft Word, its web application (Microsoft Word Online) and even its official app for smartphones and tablets.
For this guide I used the version of Microsoft Word included in Office 2019 that, at the time of writing, is the latest version of the Microsoft suite, available for both Windows and MacOS. In principle, however, the indications that you find below should also apply to the older versions of the program (from 2007 onwards). With this premise, I would say that we can actually go into the highlight of the tutorial. Good reading and good work!
Create a poster with Microsoft Word on your computer
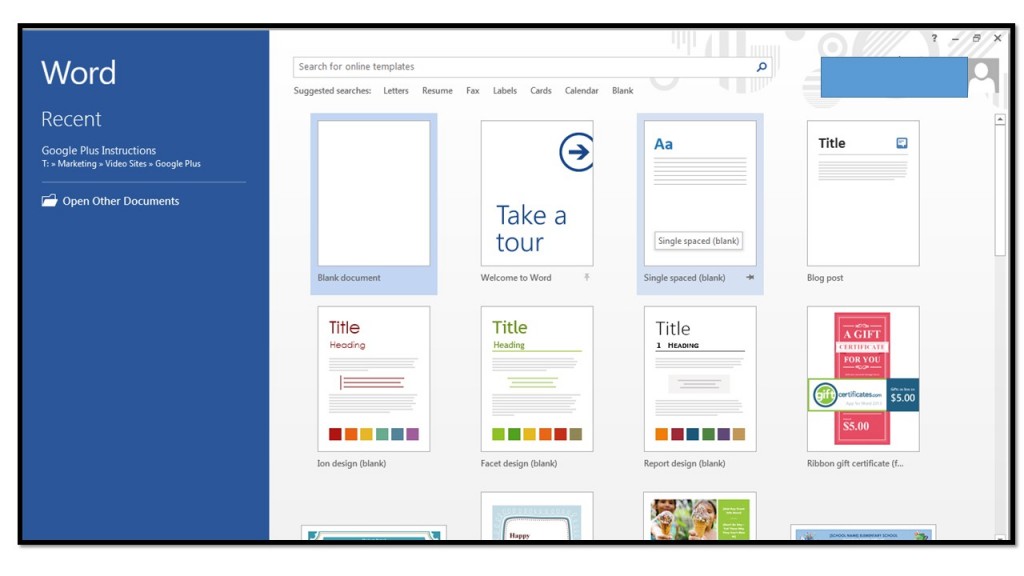
To create a poster with Microsoft Word on your computer, you must first start the program by selecting its icon from the Windows Start menu or MacOS Launchpad. Then presses the New button and the New Document option.
At this point, you have to set the dimensions of your worksheet: open, then, the Layout menu, click on the Size button, presses the item More size sheet and, in the window that opens, select the Custom Size option from the Format menu and change the Width and Height values by choosing the dimensions you prefer (e.g. 29.7 x 42 cm).
Once the spreadsheet size is defined, open the Design menu and select the Page Color item to choose the background color you prefer to use. In the menu that opens, hover over the various colors available in the palette with the mouse cursor, so as to test them directly on the worksheet.
If you want to use other colors, press on the corresponding option and create the chromatic variant you like best. By pressing on the Fill Effects … item, you can set a gradient, a texture, a pattern, and so on.

After choosing the color of the sheet, open the Insert menu and add images, shapes, icons, etc. pressing on one of the buttons located in the upper left corner. To add text, however, presses the button Text box ▾ located at the top right (always from the Insert menu), select the Draw text box in the menu that opens and then draw the text box at the desired point.
Then enter the text with which you want to advertise the event or activity to be proposed in the poster and change the formatting by going to the Home tab and then choosing the font, size, color and so on through the buttons and menus located at the top to the left.
When you are satisfied with the result, press the File button located in the upper left corner, click on the Save As entry and choose the path and format of the output file you have made.
Does it seem a little too complicated to create a poster starting from scratch? Unfortunately, Microsoft does not offer pre-designed templates for posters, but only flyers, invitations and so on. If you really want to try using one of the templates in question (despite their size are not optimized for the type of work you need to complete), you can try to change the size and layout later, even if the result does not always it could be optimal.
Microsoft Word Online
If you want to create a poster with Microsoft Word Online, the Web application of the famous video writing software that can be used free of charge on the main browsers, know that you can do it without problems, provided you have already created a Microsoft account (otherwise, you can remedy following the instructions that I have provided in the guide that I have linked just before).
Microsoft Word Online, as you may already know, is “supported” by OneDrive, the cloud storage service of the Colossus of Redmond and, therefore, if you intend to modify an existing document within it, you must first upload it to OneDrive and then modify it with the Microsoft Word Web application. To do this, you need to connect to the OneDrive start page, press the Go to my OneDrive button (if necessary), log in to your Microsoft account and drag the file you want to edit online to the browser window.
Once the file has been uploaded, click on the icon of the document you just uploaded on OneDrive, in order to open it automatically in Microsoft Word Online. As for the actions to be performed to create the poster, the Web version of Microsoft Word does not differ much from its desktop counterpart, even if it results a bit ‘more “poor” of functions, as it does not allow you to change the color of the pages and make other changes more “important” to the documents.
As for the creation of a new document, however, you do not have to do is connect to the initial page of Microsoft Word Online and double-click on the New empty document box. The rest of the operations to be performed is in common with Microsoft Word for Windows and macOS.
Create a poster with Microsoft Word on smartphones and tablets
Because of your work you are always around and would like to know if it is possible to create a poster with Microsoft Word on smartphones and tablets? Of course you can! In some ways, this is not the most “comfortable” solution that you can adopt, but it is still a viable path: thanks to the official Microsoft Word app for Android and iOS, which can be used free of charge on all devices with equal or lower dimensions at 10.1″.
If you have a device with a size greater than those that I have just indicated and / or if you want to take advantage of all the features of the mobile version of Microsoft Word, you must subscribe to an Office 365 subscription plan, starting from 7 euros / month or 69 euro / year.
The operation of Microsoft Word on smartphones and tablets is quite intuitive. As for the tablet version of the app, there is not much to say, because its interface is tabbed, like the desktop counterpart of the program, and then you can use it following practically the same instructions.
As for using the version of Microsoft Word for smartphones, however, you must familiarize yourself with the interface of the app adapted to devices with a smaller screen. After starting the application and pressing the New button at the bottom left, presses the empty document. Alternatively, go to the Open tab and choose an existing file to edit. You can open files from your device’s memory or from supported cloud storage services (OneDrive, Dropbox, Google Drive, etc.).
Then presses the button (…) located on the right and, in the menu that opens, tap the Home tab and presses on the item Layout. On the next screen, tap the Size item and select the dimensions you want to assign to the poster you are about to create. Once this is done, press again on the Layout tab and select one of the other available tabs, based on the elements you want to add in the document: Home to format the text; Insert, to add images, tables, text boxes, shapes, icons, etc.; Drawing, to access the drawing tools of the app and so on.
Once you have completed your work and you will be satisfied with the final result, presses on the arrow symbol located at the top left, presses the item Save …from the menu that opens and choose the location in which to save the document. Simple, is not it?


Average Rating