How to create partitions on Windows and macOS?
You may not know it, but if your PC with Windows or MacOS isn’t older than a few years, then it’s very likely that your hard drive is divided into two partitions: the main one, which you use every day without even knowing it exists, is the recovery partition, where the operating system “places” an emergency copy of its files in order to be able to restore the entire computer in case something has gone (very) wrong.
Today, compared to the past, creating partitions from scratch or changing the size of an existing partition is child’s play. But once it was not like that at all: they needed good technical skills and even the most expert users performed these operations with the utmost care, because they risked doing great damage and having to delete all the partitions (with all their data) if the procedure it was not performed in a workmanlike manner. But what exactly are hard drive partitions? And what are the advantages of dividing a hard drive into multiple partitions? And finally, how to create and format new partitions on your computer’s disk?
What are the hard drive partitions and what they are for?
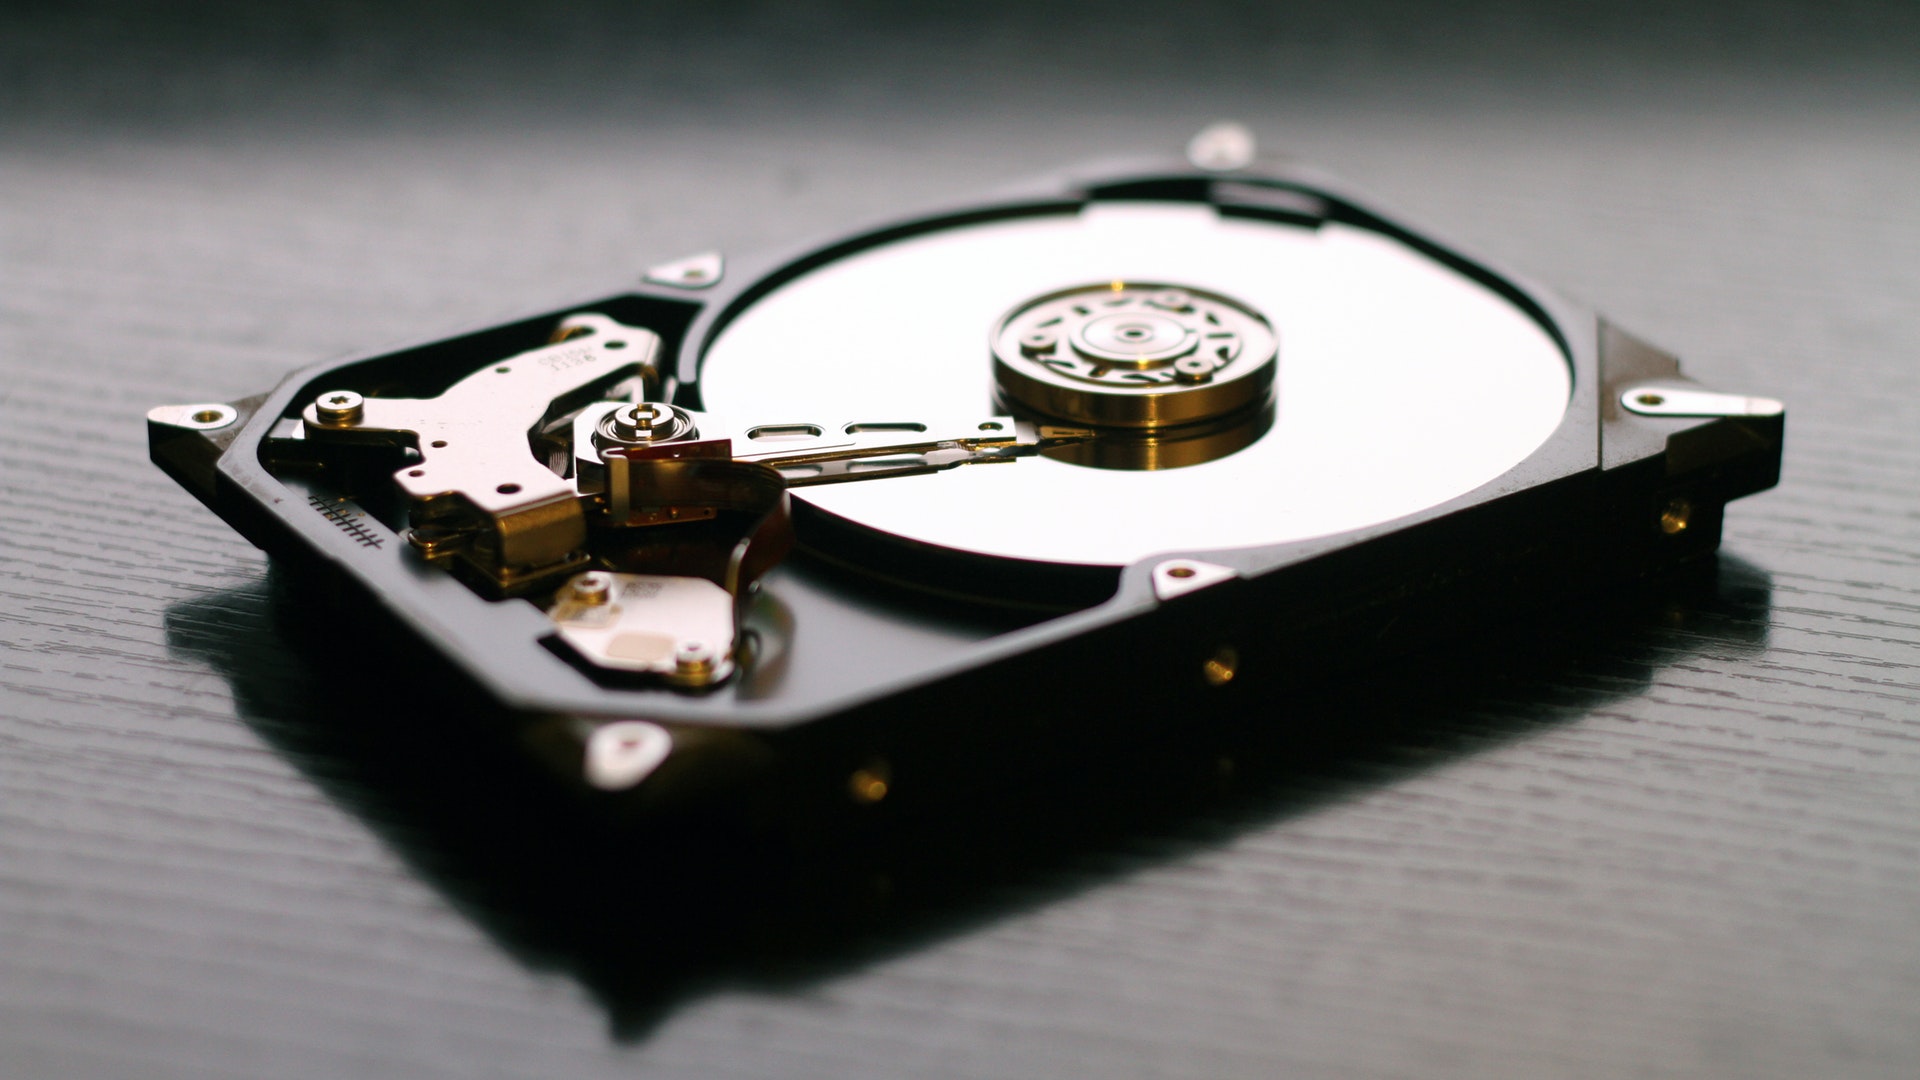
The term “partition” is simply a part of the disk. Often also called “volumes”, the partitions are nothing more than slices of the disk that are separated for various reasons, which we will see later. Any hard drive, and any solid state SSD drive, can be partitioned into two or more volumes based on your needs.
Having a second partition has the same advantages as having a second hard drive. Of course, you won’t have any more space for your files, but you can clearly separate the two volumes. This way, if a partition has a technical problem, there is no risk of the entire contents of the disk being lost. Furthermore, with multiple partitions you can install multiple operating systems on the same disk. Creating a partition only for the data you use most, such as audio, video and photo files, also allows you to faster defragment these specific files to keep your archive in good shape.
How to create partitions
All this is for you at no cost because the utilities needed to partition the hard drive are already integrated into the operating system. Both in Windows and in MacOS: they are called, respectively, “Disk Management” and “Disk Utility”. The utility that allows you to create a Windows partition on a Mac drive, instead, is called “Boot Camp Assistant”.
To create a new partition on Windows, type the words “Disk Management” in the Start menu search box. Windows will automatically suggest the “Create and format hard disk partitions” feature, because it already knows what you want to do. From this utility you can clearly see the “slices” in which your disk is divided. You will need to select the partition called “C:”, right-click on it and then choose “Reduce Volume”. This is essential to make room for the new partition you want to create. On this empty space, always right-clicking, you will need to create a new volume. That will be your new partition on your disk.
To create partitions on Mac you will need to open the Disk Utility application (find it in the applications or search for it in Spotlight). It will open a screen with a graph, not even saying, a cake that contains, even saying, the “slices” in which your disk is currently divided. Under the cake there is a ” + “button”: click on it to add a partition, or volume. The procedure is simple and guided: all you have to do is enter the size and name. Note, however, that partition and volume are two different things on MacOS since the new one was introduced APFS file system (Apple File System): the partition has a fixed size, while the volume No. The only advantage of the partition over the volume is that it can contain another sysyem file (such as NTFS, necessary to install Windows). .
How to create a Windows partition on a Mac
It is clear, at this point, that to install the Windwos operating system on a Mac hard drive you will have to choose to create a new partition dedicated to it. Fortunately, the Boot Camp utility greatly simplifies things through a guided setup that will allow you, in order, to create the partition, format it in NTFS and then install the Microsoft operating system.


Average Rating