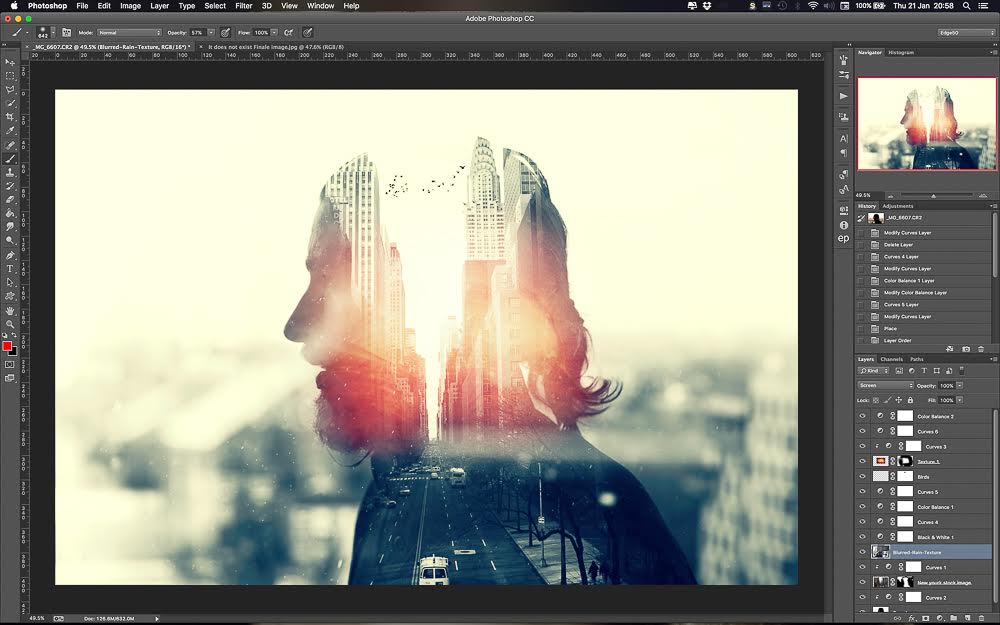
7 Tips to get you beating in Photoshop
The most famous digital image editor has many functions! Check out seven essential tricks to work on your photos. There is nothing more frustrating than taking a photo you wanted and then realizing that the lighting did not go the way you wanted or that it highlighted minor flaws in the environment. You cannot just go to the place and take another, right?
To solve these problems digital image editors emerged and became popular at the end of the last century. With them, you can enhance photos, add effects, enhance lighting and contrast, and more.
The most famous of them is Photoshop, officially launched by Adobe in 1990 and which has become a reference in this area. It is currently considered the sales leader and is used both in the domestic and corporate environments.
The fact is that the innumerable features and benefits of the software explain its success, while at the same time becoming an obstacle for those who want to master the main techniques for treating and caring for an image.
However, some tips are useful and provide the raw material for anyone who wants to work with Photoshop. By mastering your core functions, we will take the first step towards becoming an expert on the subject. Check out 7 essential tricks …
1 – Layers as a creative resource
A good work in Photoshop passes through the domain in the use of layers in the image to be worked by the professional. With them, it is possible to create different assemblies and reproduce different effects on each of the elements.
This feature brings great flexibility to those who edit a photo and the possibilities are numerous. In the “Layers” tab, in the top menu, you can create, apply as background, merge, flatten and even copy them.
2 – “Levels” tool to adjust lighting
One of the main uses of the program is to correct lighting problems. In this case, the tip is to take advantage of the “Levels” tool, which can improve both the brightness and the shadow of the photo without bursting the image. To do this, simply press Ctrl + L to open the window.
The menu should show the histogram, i.e. the different tones in the photo. At the bottom there are three markers, which you must drag to adjust the required hue. Test until you reach the desired effect.
3 – “Touch-up brush” to correct small defects
The “Retouch Brush” is also highly recommended for beginners as well as for those who already have a level of knowledge in the software. It is indicated to correct small defects in the image, mainly in human faces.
The feature has important variations such as smudging and red-eye reduction in photos. To apply, simply adjust the size of the retouch region and click with the brush in each of the desired areas.
4 – “Magnetic Tie” to select objects
One of the biggest difficulties for anyone working with Photoshop is being able to select part of the image to edit or cut the rest of the photo. To solve this issue, the “Magnetic Tie” was developed.
The item can detect all the edges and edges of an object in the image. That is, you can easily select an element if there is contrast between the item and the background.
Just select the “Tie” icon, choose the last option, represented by a magnet, and apply on the photo.
5 – “Blur” to reduce defects
The image editors are associated with the ability to save photos and blurry that would be considered lost. However, more than correcting, knowing how to blur some elements is also very important for those who work with photography and design.
Just select the Blur option (represented by a drop of water) and choose the area for application. It is possible to remove wrinkles, improve imperfections on the face or even remove some element from the image. However, care must be taken not to overdo the use.
6 – Use grills to make work easier
The grids are essential for developing a good project in Photoshop. With them, you can organize information, align goals, create bookmarks, and serve as a basis for anyone who wants to create something from scratch.
You can create a grid from the “New Layout Guide” option under the “Display” category in the top menu of the program. The feature can also be set in “Preferences” under the “Edit” menu.
7 – Image processor for simultaneous change
Making a manual change in one or two images is common and does not disturb anyone’s routine. But what about 200, 500 photos? Changing the size and characteristics in each of the files costs a lot of time and energy of the person.
Because of this, Adobe has created an interesting solution known as “Image Processor”. Just go to “Files”, then “Script” and “Image Processor”, select the folder where the images are and apply the new sizes and desired characteristics.
The seven listed tips should be viewed as a start for anyone who wants to master Adobe Photoshop and work with image editing. The program has numerous functions and interesting solutions for each case.


Average Rating