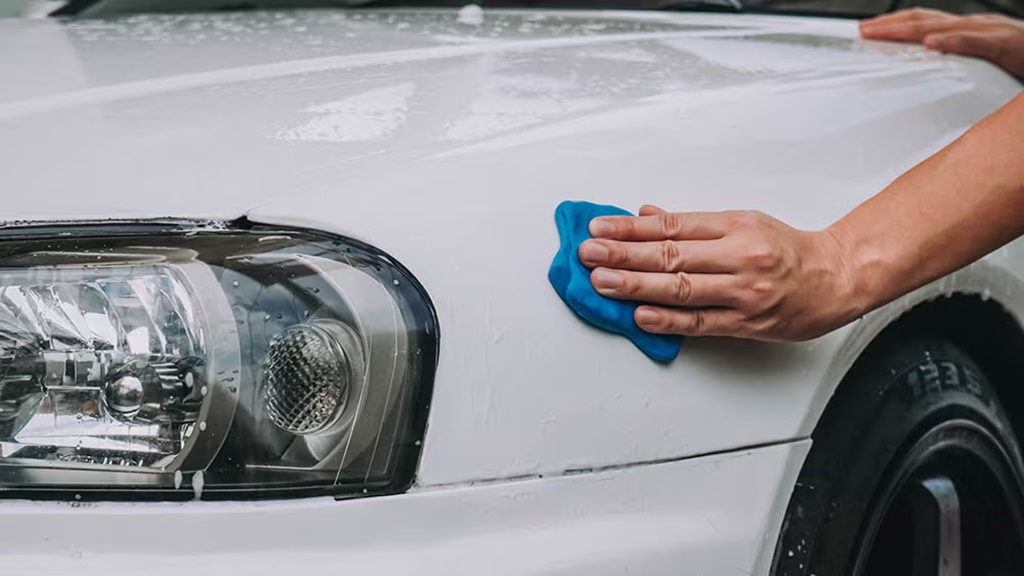
How to Make Homemade Clay Bar Lubricant
Cleaning and detailing your car can be a rewarding and satisfying experience. Claying is a critical step in the detailing process, which removes bonded contaminants from the paint that regular washing can’t remove. To properly clay your car, you need a lubricant to help the clay glide smoothly over the surface. While you can buy premixed homemade clay bar lubricant, making your own at home is easy and affordable and allows you to customize the formula to your preferences.
Why Claying is an Important Step
Your car’s paint doesn’t just get dirty from dust and mud. Over time, industrial fallout, rail dust, water spots, and environmental contaminants chemically bond to the clear coat. This makes the surface feel gritty and clouded. Claying removes these bonded contaminants that washing alone can’t. It leaves you with an ultra-smooth, glass-like finish ready for polish and wax.
Some key benefits of homemade clay bar lubricant include:
- Removes surface contaminants that washing misses
- Leaves a smooth, clean base for polish and wax
- Detailing clay is gentle and won’t harm the clear coat
- Restores clarity and vibrancy to the paint
- Improves the bond of protectants applied after
Your car’s paint will become increasingly contaminated and opaque without regularly claying. The smoothness and visual clarity of the apparent coat decline over time. That’s why claying is considered an essential step by detailing enthusiasts before polish and protection.
The function of Clay Bar Lubricant
Clay lubricant serves some essential functions during the claying process:
Allows the Clay to Glide Smoothly
The lubricant prevents the clay from sticking or dragging on the paint surface. This allows the clay to glide smoothly over the contours of the car. The lubricant reduces friction and protects the paint from potential marring.
Lifts Contaminants
The lubricating fluid helps lift dirt and debris from the pores of the clear coat. It allows the clay to capture the bonded contaminants more effectively.
Provides Surface Slip
The lubricant prevents the clay from sticking to the paint. This is important when working on vertical panels. The lubricating film allows you to glide the clay across with minimal resistance.
Cools Surface Temperature
The lubricant helps prevent the clay from overheating on hot paint. This is important, especially when working in direct sunlight. The fluid cools the surface temperature for safer claying.
Reduces Scratching
An adequately lubricated surface helps minimize potential swirling and marring. The fluid lets the clay glide smoothly without dragging or catching on contaminants. This reduces surface scratches and swirls.
Homemade Clay Bar Lubricant Recipes
You can easily make effective homemade clay lubricant using ingredients you likely already have.
Here are some popular recipes:
Water-Based Lubricant
- 1-gallon water
- 1-2 oz car wash soap
This simple lube only requires distilled water and car wash soap. The soap allows the clay to glide smoothly across the paint. Distilled water is recommended to prevent potential water spots.
You can substitute an ounce of lubricant like Optimum No Rinse for the car soap. This will provide more lubrication. Adjust soap amounts based on slipperiness. You want lots of lubrication but not excessive suds.
Water & Baby Shampoo
- 1 gallon distilled water
- 2-4 oz. baby shampoo
Baby shampoo makes an excellent lubricating soap for clay lube. It’s designed to be gentle, rinse clean, and provide plenty of slip. Use 2-4 ounces per gallon of distilled water depending on desired slickness. Shake well before use.
Optimum No Rinse (ONR)
- 1 gallon distilled water
- 1 oz Optimum No Rinse
ONR is a popular car wash and clay lube choice. Mix an ounce per gallon of water. You can increase ONR concentration for more lubrication. ONR lubricates safely without leaving residue.
Water & Slippery Synthetic Quick Detailer
- 1 gallon distilled water
- 12-16 oz slippery detailer
Synthetic detailers like Meguiar’s Last Touch provide excellent lubrication. Mix 12-16 ounces per gallon of water for a slippery clay lube. Be sure to use a slick synthetic detailer, not a wax-infused one.
Water & Isopropyl Alcohol (IPA)
- 1 gallon distilled water
- 16 oz isopropyl alcohol
Isopropyl alcohol (70% or higher) helps improve the quick-drying properties and adds lubrication. Mix with distilled water at a ratio of 16 ounces IPA to 1 gallon water. This helps prevent grabbing and streaks.
DIY Super Slippery Lubricant
- 1 gallon distilled water
- 1 oz car soap OR 1 oz ONR
- 4 oz baby shampoo
- 4 oz slippery detailer
You can combine ingredients to create a super slick homemade lube. This recipe takes advantage of the best properties of different soaps and lubricants. Adjust amounts to suit your preferences.
Mixing Your Homemade Lubricant
Mixing up a batch of homemade lube is quick and straightforward:
- Use distilled water to prevent potential water spots
- Mix in your desired soaps, lubricants, and ingredients
- Shake or stir well to fully dissolve and combine
- Decant into a spray bottle, bucket, or foam gun
When storing, give your lube container a shake before use to recombine any settled ingredients. Mix up fresh batches every couple of months for the best results.
Lube Application Tips
- Mist panel lightly before claying
- Use a foam gun or spray bottle for even application
- Work in small 18 x 18 inch sections
- Reapply lubricant frequently as you clay
- Spray the surface liberally if clay drags or sticks
- Add more lubricant as needed for a good slip
Applying plenty of lubricant is critical for effective claying. Reapply frequently and add more fluid if the clay doesn’t glide smoothly.
Customizing Your Formula
One great benefit of homemade lube is you can customize the blend.
Some tips for experimenting with your formula:
- Start with a base of distilled water – The primary component should be pure water to prevent water spots.
- Add soaps for slip – Soaps like a car wash, baby shampoo, or ONR provides lubricating suds. Start with 1-2 oz per gallon.
- Consider a slippery detailer – Synthetic polymer detailers enhance the lubricating properties. Limit wax-infused detailers.
- Try some isopropyl alcohol – A bit of IPA (70% or higher) helps improve drying time and lubrication. Limit to 4-6 oz per gallon.
- Adjust amounts based on slipperiness – For more lubrication, increase soaps. For less residue, reduce sudsing. Find your ideal balance.
- Shake before use to combine – Give your homemade lube a good shake before applying to mix any settled ingredients.
The beauty of homemade lube is optimizing the formula for how you like to clay. Play with different component ratios until you find your perfect blend.
Using Your Homemade Clay Lube
Once mixed up, using your homemade lube is no different than store-bought varieties:
- Wash and dry the car – Always start with a freshly washed and dried vehicle when claying.
- Mist panel lightly with lube – Lightly wet the section before rubbing it with the clay.
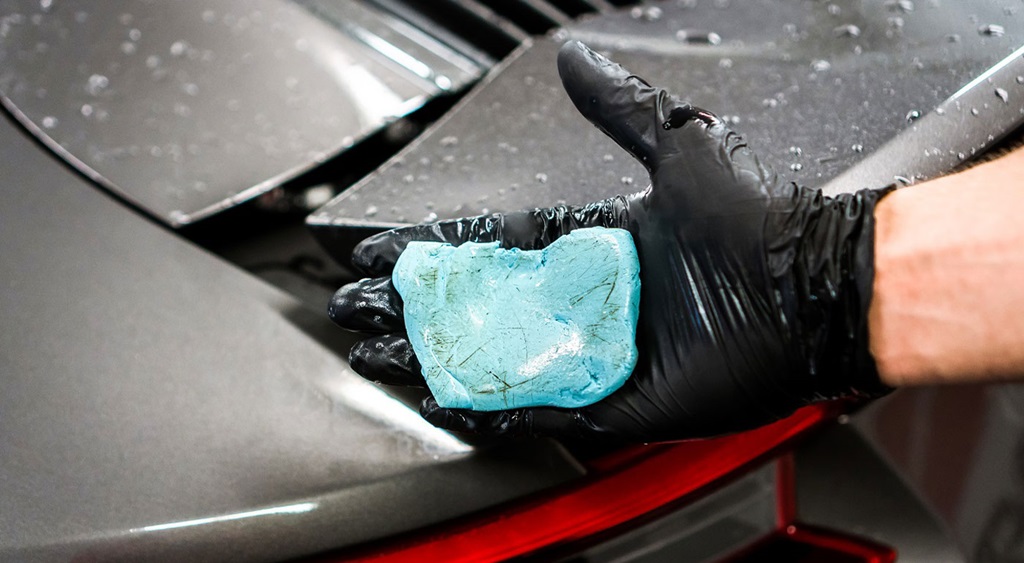
- Knead clay continually – Keep folding and reforming the clay as you work to expose clean edges.
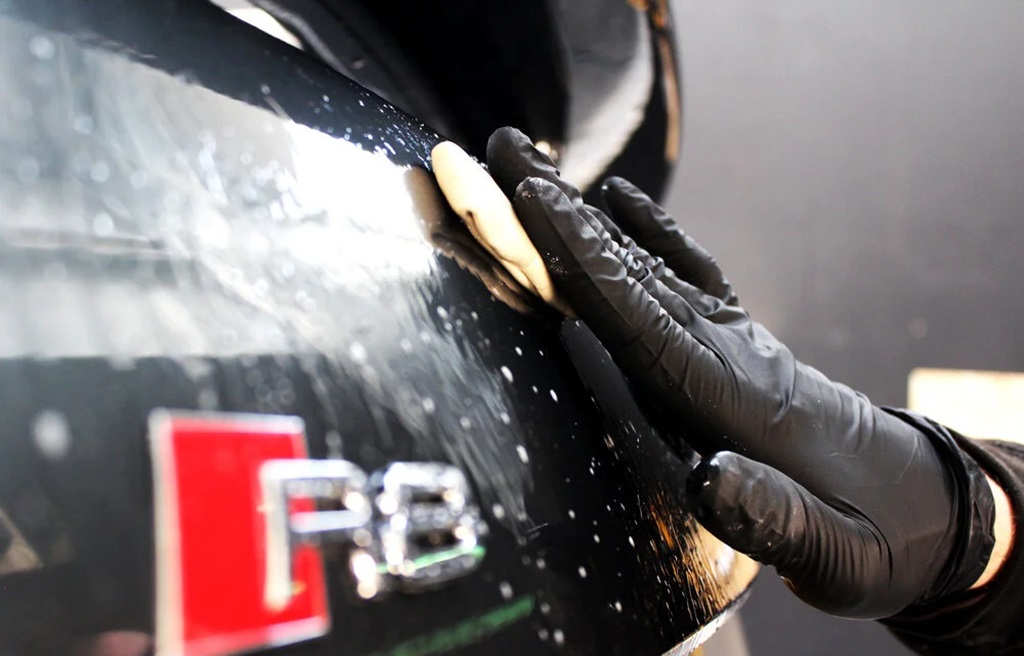
- Use light, even pressure – Rub the clay back and forth with consistent light pressure.
- Overlap strokes slightly – Each pass should overlap the last by about 30%.
- Relubricate often – Spray more lube whenever clay drags or sticks.
- Flip and change clay often – Flip the clay over and knead to keep the sides exposed.
- Inspect for smoothness – Frequently feel with your hands to test for remaining contaminants.
- Clay until glassy smooth – Keep claying until the entire panel feels completely smooth.
With plenty of lube and patience, you’ll achieve a squeaky, clean, ultra-smooth finish ready for polishing and protection.
Storage & Shelf Life
Store your homemade lube in a cool, dry place out of direct sunlight to maximize shelf life. Over time, some ingredients may settle out of suspension. Give your lube a good shake before use. Plan to mix up fresh clay lube every couple of months for the best performance.
Troubleshooting Homemade Lubes
One benefit of homemade lube is you can tweak the formula to optimize performance.
Here are some troubleshooting tips:
Clay drags and sticks – The most common issue is inadequate lubrication. Try increasing soaps for more slip. Add a few ounces of slippery detailer. Or use more lubricant with each panel.
Excessive streaking – Some ingredients may dry too quickly, causing streaks. Add distilled water to dilute or a bit of IPA to improve drying time.
Leaves white residues – Sudsing ingredients can leave residue after drying. Reduce the amount of soap or wash the residue off promptly after claying.
Spots form as they dry – Tap or hard water can leave mineral spots. Use distilled or purified water instead of tap.
Doesn’t lift contaminants well – An under-lubricated clay bar won’t remove debris effectively. Increase lubricating additives for better cleaning.
Clay seems to stick to certain areas – Target stubborn sections with extra lube sprays. Clay until these areas feel perfectly smooth.
With the proper adjustments, you can troubleshoot any issues with homemade lubes. Don’t hesitate to experiment to find what works for your specific playing needs.
Environmentally-Friendly Options
For the eco-conscious detailer, you can create effective homemade lubes using safe, non-toxic ingredients:
- Distilled water – As the base, purified water is essential. Avoid tap water with additives.
- Plant-derived soap – Look for biodegradable liquid soaps based on plants, especially citrus extracts.
- Vegetable glycerin – A spoonful of plant-based glycerin helps lubricate and condition the clay.
- Food-grade oils – Small amounts of coconut, olive, or other oils enhance slip.
- Essential oils (optional) – You can add a few drops of natural essential oils like lemon or orange for scent.
Mix green ingredients for your detailing needs while caring for the environment.
Benefits of Homemade Lube
Concocting your custom clay lubricant offers many advantages:
Cost Savings – Homemade lube only requires inexpensive ingredients. This saves significantly over commercial products.
Customization – You can tweak the formula with different soaps, lubricants, and ratios.
Control ingredients – With homemade, you know exactly what’s being sprayed on your paint.
Environmentally-friendly – Natural, biodegradable ingredients can produce eco-friendly lube.
Fun to experiment – Trying different concoctions is an enjoyable part of the process.
Better lubrication – Adding more soaps or slickants is easy until you achieve ideal slipperiness.
No harsh solvents – Homemade lubes avoid harsh petroleum distillates in some detailing sprays.
Safe for all paints – With non-toxic ingredients, homemade lube can be used safely on all vehicle surfaces.
Creating your custom-blended clay lube is the perfect option for frugal detailers looking to save money or take control over ingredients.
Conclusion
From a simple water-based formula to a heavily lubricated blend, making your clay bar lubricant is easy, affordable, and customizable. With the proper technique, homemade lube allows the clay to glide smoothly across the paint to remove bonded contaminants safely and effectively. Understanding the function of clay lubricant will enable you to tweak the ingredients to create your ideal frictionless claying experience. Experiment, innovate, and enhance your detailing with the perfect homemade clay lube concoction.
FAQs
What is the ideal ratio of ingredients?
There is no single perfect ratio. Start with 1 gallon of distilled water. Add 1-2 oz of your chosen soap. Consider 4-8 oz of a slippery synthetic detailer for more lubrication. Adjust amounts based on preference.
Can I use tap water instead of distilled?
It’s best to use distilled or purified water to prevent mineral deposits. Tap water may leave water spots as the lube dries.
How long does homemade lube last?
Plan to mix fresh clay lube every 2-3 months for best results. Properly stored lube lasts longer but may need shaking to recombine settled ingredients.
Do I need to wash off the lube after claying?
For sudsy lubes, thoroughly rinse with water after claying. Slippery polymer can be left on the paint. Wipe up any drips or residue, just in case.
Can I clay in direct sunlight?
Claying in full sun is possible but not ideal. The heat can make claying more difficult. If needed, mist panels with cool water to help keep temperatures down.
Should I clay the entire car at once?
It’s best to clay just one or two panels at a time. This prevents the clay from drying out as you work. You want to maintain plenty of lubrication.


Average Rating